Configure a Redis Cluster on Ubuntu 14.04
Why Redis :
Redis is an open source (BSD licensed), in-memory data structure store, used as database, cache and message broker. It supports data structures such as strings, hashes, lists, sets, sorted sets with range queries, bitmaps, hyperloglogs and geospatial indexes with radius queries.
Redis is a NoSQL key-value data store. It can be used as a general purpose cache. keys can be strings, or more complex types (lists, sets, hashes etc).
Prerequisite to configure Redis cluster :
I have used ubuntu 14.04 for my testing .You can use any higher version of ubuntu for your deployment .
1) Two AWS cloud servers
2) Two Redis Nodes,one master and one slave
Step 1 — Install Redis Master Server
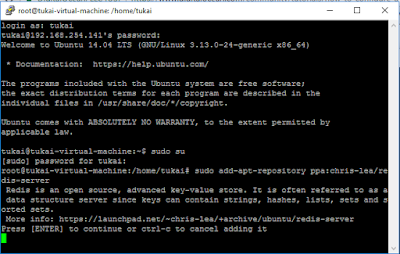
we need to add Chris Lea's Redis repository and perform the ap-get update.Once the repo is added and update process is completed you can install the Radis server.
Run the following command to update the packages:
Install the Redis server:
Install radis on the master node.
Follow the same process on the slave node .
Step 2 — Configure Redis Master Server node
Once redis is installed on the server we need to change few configuration settings on the master node .
Open /etc/redis/redis.conf with your favorite text editor(vim/nano):
#vim /etc/redis/redis.conf
First set a sensible value to the keepalive timer for TCP:
If you want server to be accessible to anyone on the web you need comment out this line as shown in the above picture:
#bind 127.0.0.1
To protect the Radis from the attacker you must set the password of the radis node .
If you want to take the backup of your radis data you need to uncomment the below lines .
Save your changes .
Restart the Redis service to reload our configuration changes:
Step 3 — Configure Redis Slave node :
Open /etc/redis/redis.conf with your favorite text editor(vim/nano):
#vim /etc/redis/redis.conf
First set a sensible value to the keepalive timer for TCP same as Master node and Make the server accessible to anyone on the web by commenting out the below line :
Set the slave node password to protect it from the unauthorized access:
we need to Uncomment the masterauth line and provide the password we set up earlier on the master server node:
Uncomment this line and indicate the IP address where the master server can be reached, followed by the port set on that machine :
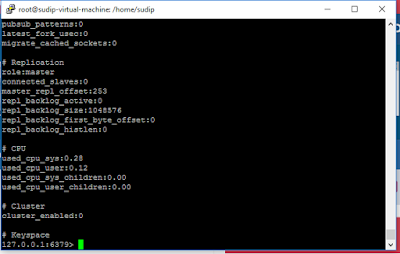
Step 4 — Verify the Master-Slave Replication :
Now authenticate with Redis with the password you set when configuring the master:
Promote Slave as Master Cache node :
Rejoin the Slave node to master after the disaster recovery :


No comments:
Post a Comment